Browsing Tag

photography

Fashion

How to take great family photos

3rd April, 2022

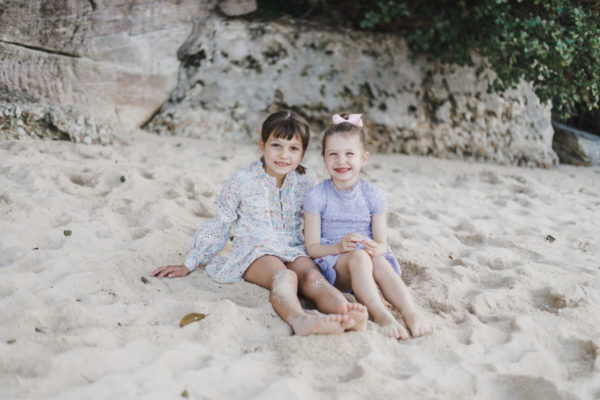
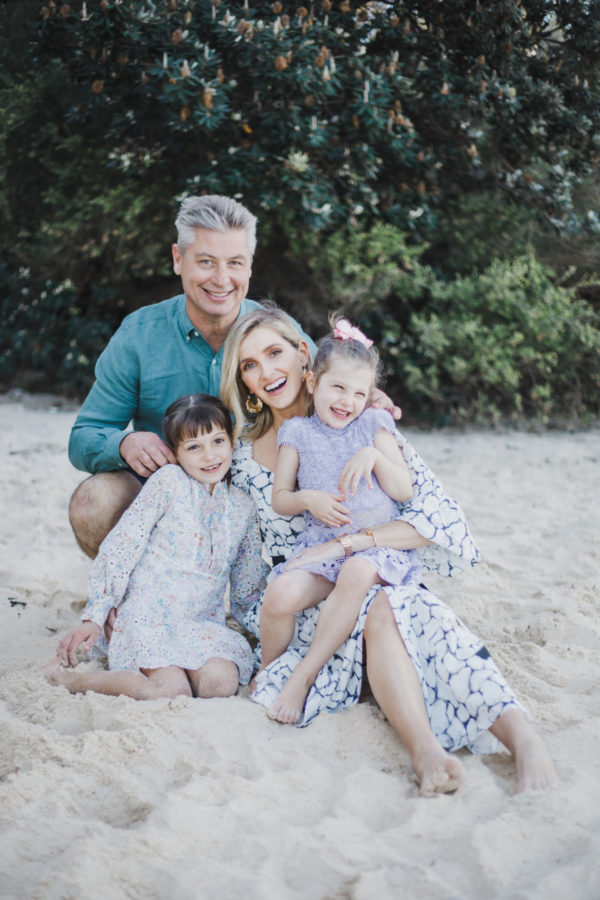
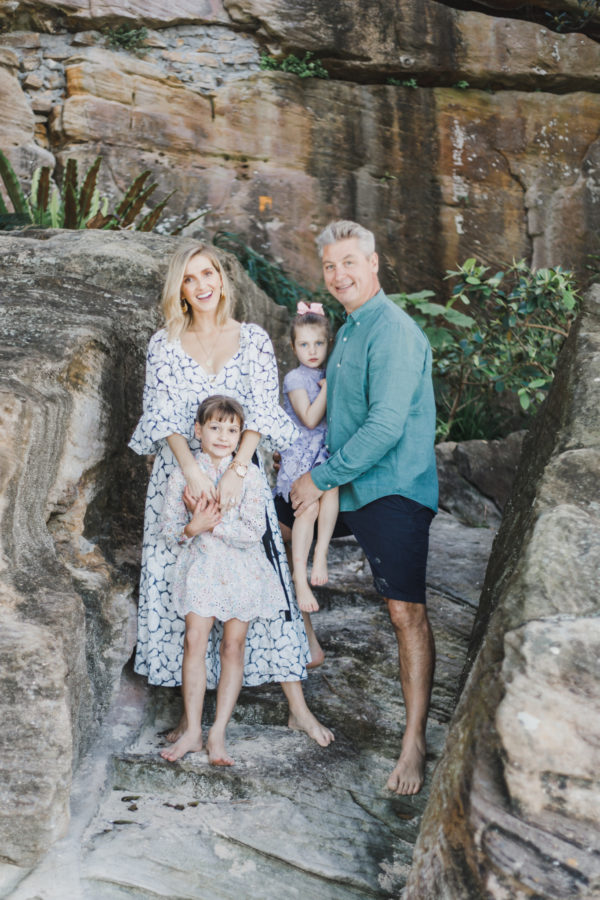
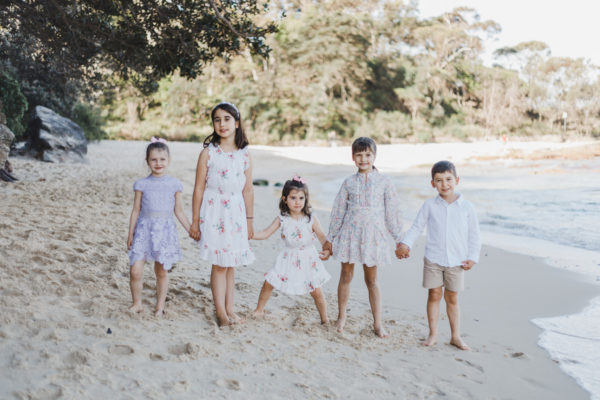
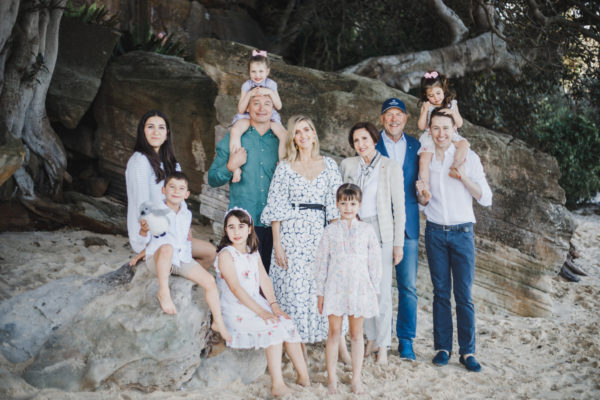
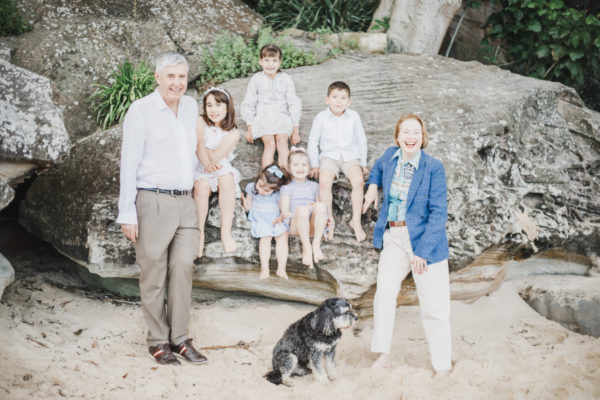
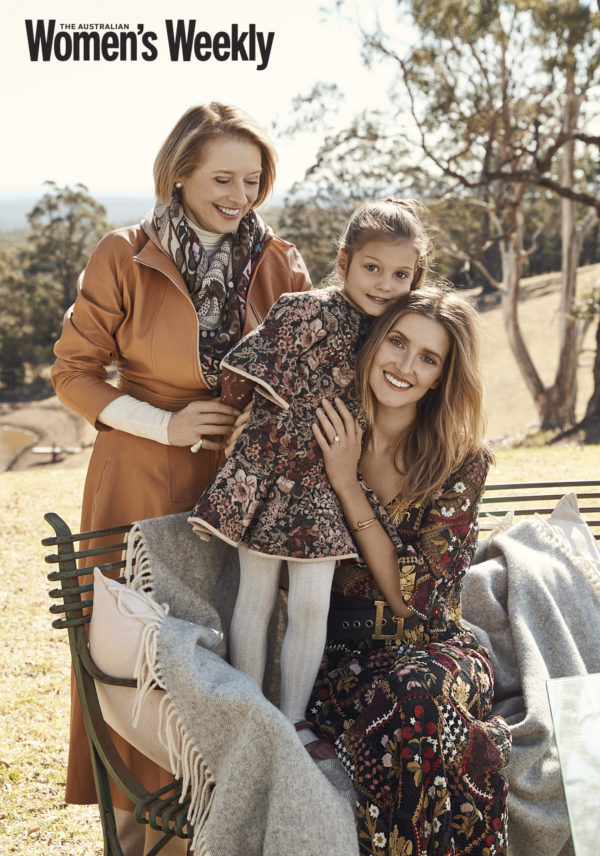
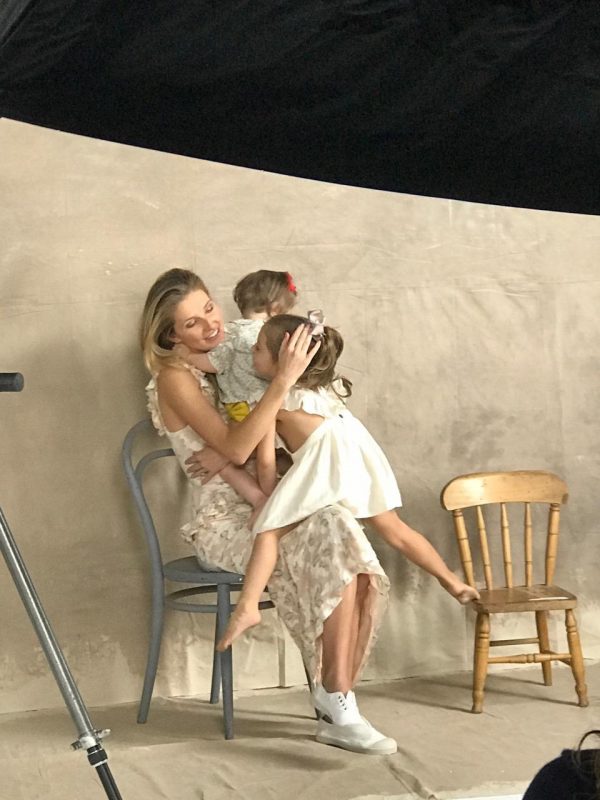
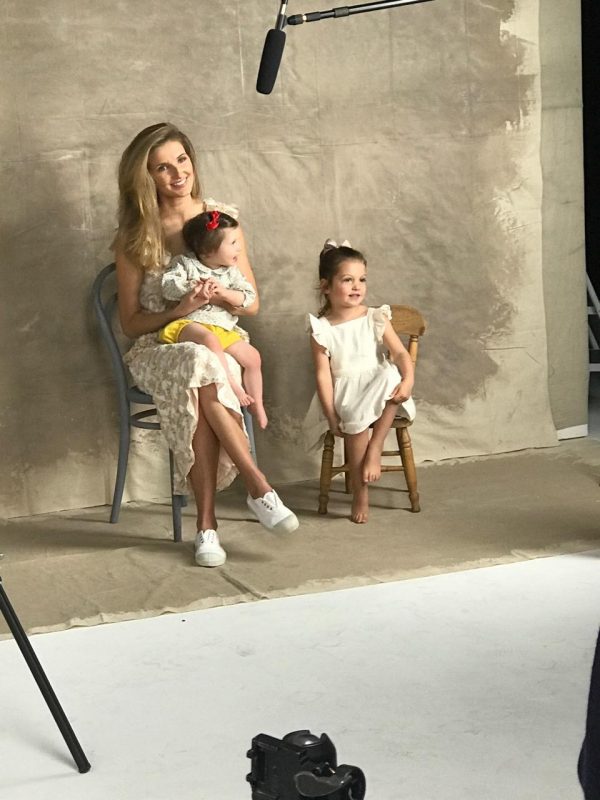
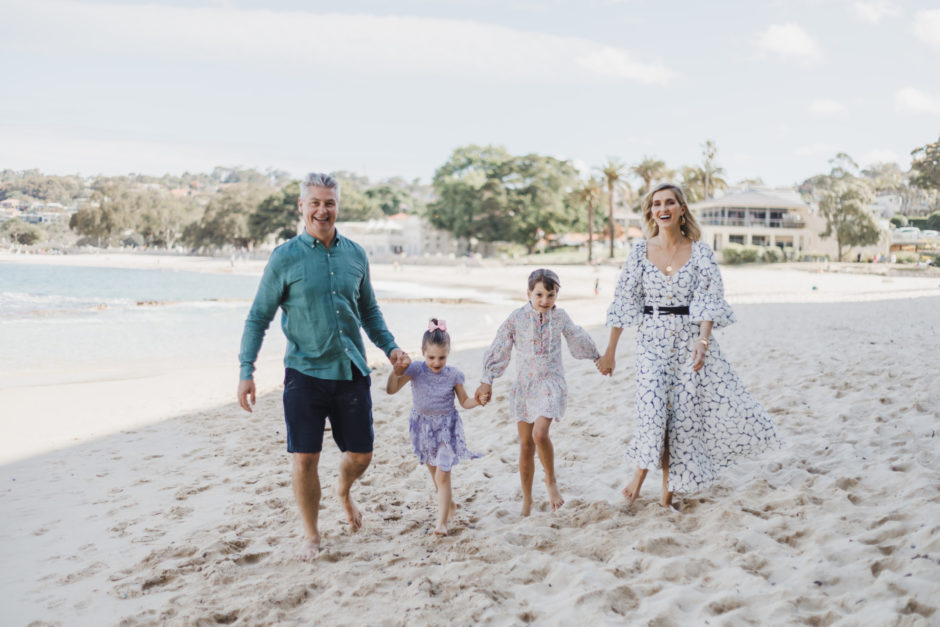
I take a million family photos on my phone but occasionally it’s nice to have a professional behind the lens to take the shots. Recently I had the pleasure of working with family photographer Felicity Cook who shot Luke and the the girls and I along with my extended family (see below for the finished product). She managed to make it look so easy, plus anyone who can handle five kids simultaneously and still get great shots is someone who has my admiration. It’s hard enough getting a nice shot of one! I wanted to tap into Felicity’s expertise to give my family photo taking a little more polish and here, I’m sharing her tips.

What’s your process for composing a shot?

“There are multiple factors to composing a shot. It depends how many people are in it, what your background is like, and what the focus of the shot is meant to be.

If you’ve got a large group, the group is the focus, and you’ll generally centre them, but if it’s one or a couple of people, and you’re in a beautiful location, you may focus on capturing the subjects within their surroundings, so a bit of both.

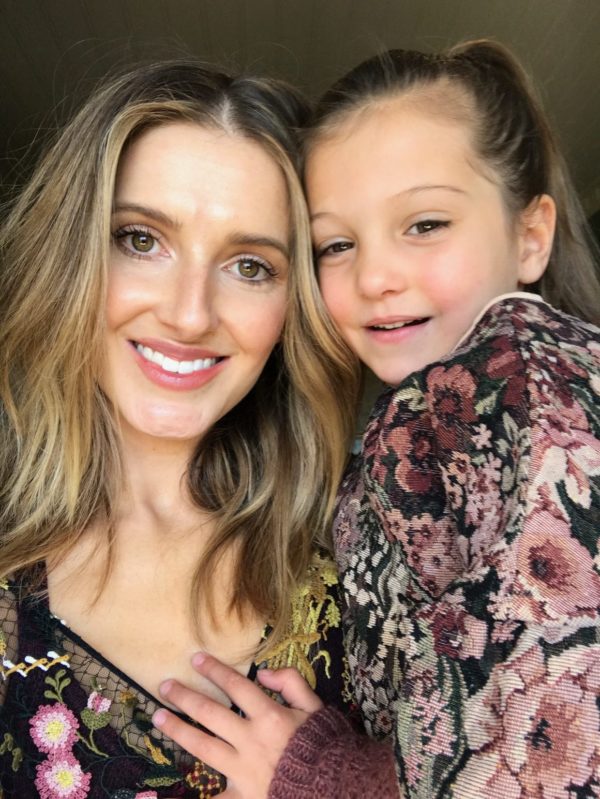
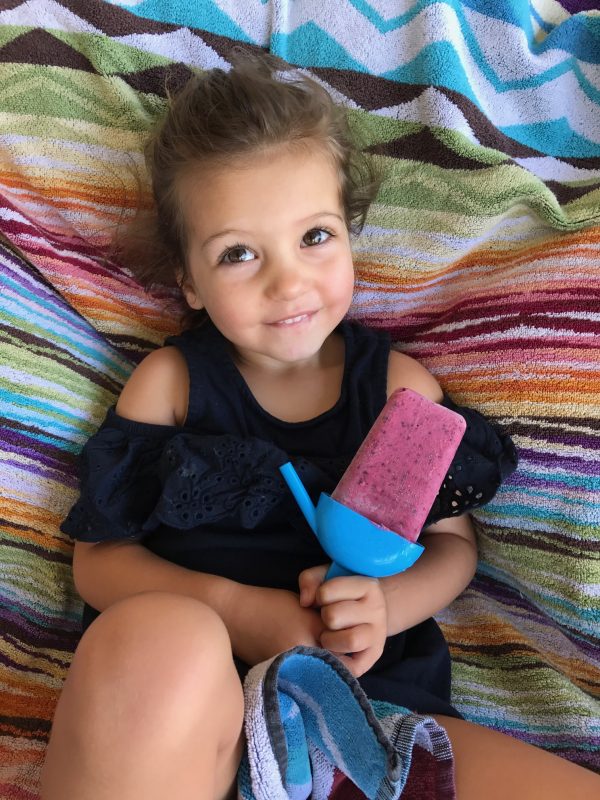
I also look at body language- if a child is snuggled up to a parent, I may focus on the moment that is happening, rather than trying to capture everything else going on in the shot.”

How do you deal when you have kids who refuse to look at the camera?

“Ahh, working with kids. They are equal parts fun, equal parts patience training! It can be a little daunting for some kids to look at a camera pointing at them. There are gizmos and gadgets you can invest in to try and distract them (puppets or funny things that attach to your camera), or you can simply work with them at their level. I like to try and bring them out of their shell—whether that means letting them sporadically let off steam (running around or climbing or whatever they need) and then bringing them back in, or engaging them in conversation just me and them, to let them know they’re in a safe environment. If all else fails, position yourself so that they’re looking at something behind you!”

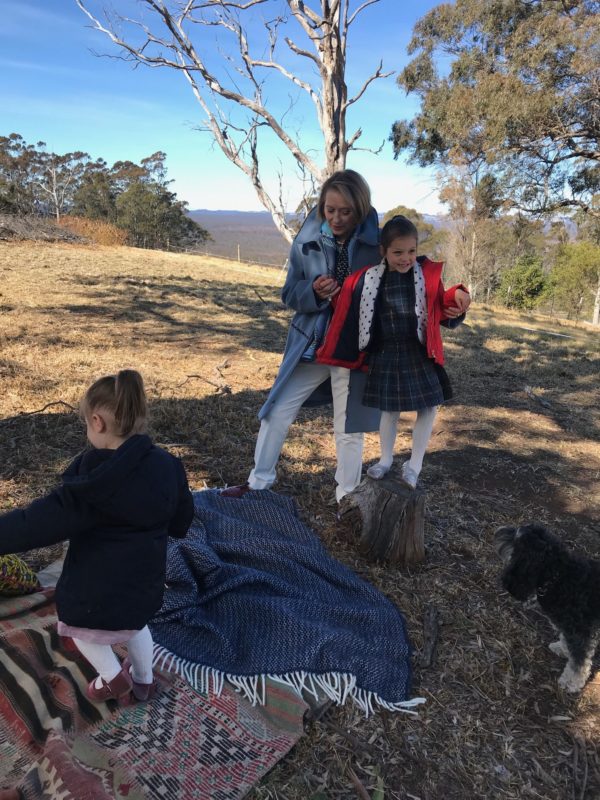
What are your tips for choosing a location that will shoot well?

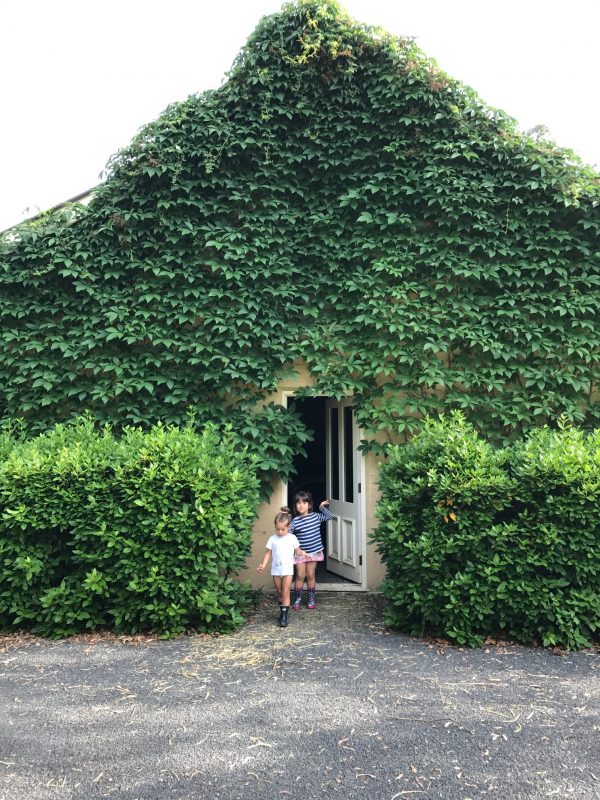
“I prefer uncluttered, natural locations. Too much clutter confuses the shot, and can detract from the moment you’re trying to capture. Somewhere that is void of excessive crowds is always easier—especially when dealing with easily distractable children! Above all, choose a location that suits you and your family. If you live for the water, a densely urban location might not fit who you are all that well. Similarly, if your kids aren’t confident around water, perhaps the beach isn’t the best place to be, choose a park or bushy location.”

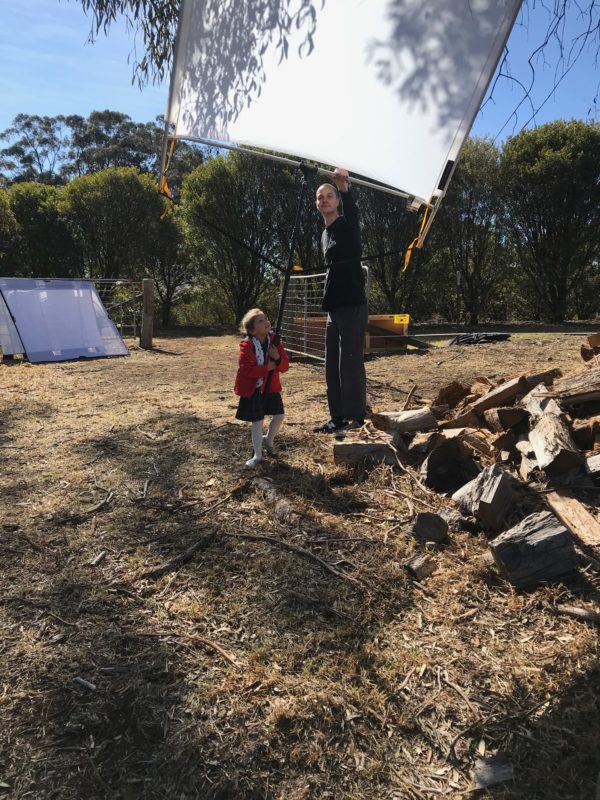
What are some considerations people should take when it comes to lighting? 

“Contrary to what you might think, really bright sunny days aren’t great for photography! Soft lighting is much more forgiving than harsh light, so I always shoot in the early mornings or late afternoons. Natural lighting is best—unless you have proper studio lighting set up at home, steer clear of artificial lighting wherever you can. Even shooting at home, choose a location that gets natural, even light coming into it.”

What’s the key to getting a shots that are vibrant and have great energy?

“Keep it natural, and keep it fun! Forcing people to pose in positions that aren’t natural or comfortable for them won’t result in a great photo. If the kids want to run and climb, work with it! Get them to start at a point further away, and run towards you, and capture them as they come to you. If they’re feeling clingy, take cuddly photos. Dance, play music, make it fun, and the result will show it.”

Most people are using their phones to take family pics these days… do you have any tips for making the most of phone photography?

“Phone cameras are so advanced these days, you can get excellent shots on them. Avoid zooming in too much on a phone camera though, as most of them will pixelate (meaning they lose sharpness) as you zoom further in. Keep your phone straight on, so you’re not angling too far up or too far down, because proportions get a bit wacky. And just be mindful that a phone camera is not the same as a professional camera! You can get great shots of your loved ones on your phone, but you might not be able to get large format landscape photography happening on your iPhone (although if someone has managed that, you can correct me on that one!).”

What are some big no-nos when it comes to taking family photos?

“Everyone has a different style when it comes to photography. I personally go for a light, bright, natural feel. Some photographers prefer a darker, moodier look—both equally amazing, but quite different from each other!

Depending on the style you’re going for, what does and doesn’t work will differ. For light, bright photography, wearing dark clothes won’t really help you get that soft, dreamy look. But for moody photography, it’s perfect. Bold patterns and logos on shirts are generally a no-go for most styles of family photography, because they detract from the shot, and can throw out the balance if one person has bright green frogs on their shirt, and everyone else is wearing plain colours!

Height differences can cause some odd no-nos in photos too. If you’re on a bit of a slope, having the tallest person on the high side and the shortest person on the low side will give you an almost Alice-down-the-rabbit-hole look, which doesn’t flow well.

And don’t cut off heads or feet, except when doing portrait close ups! A beautiful family portrait can be ruined by one person having their feet cut off at the bottom of the shot. It’s easier to crop a photo than to add to it!”

Kids will generally have a short attention span when it comes to taking photos… what are your tips for ensuring you a great shot quickly and without too much fuss?

“Be prepared. The moment passes super quick, and nine times out of 10, they won’t repeat it for you. Take more than one shot of a moment or if your phone/camera allows, take a burst in quick succession. It will give you a greater chance of getting a good shot. Kids are also super fast (as we all know!), so a fast shutter speed is a necessary.

But the biggest key is patience. If they’re getting fidgety, take a break, distract them with something else (if there’s a Mr Whippy van, go get an ice cream!).

And respect their wishes. If they don’t want to be in a photo, don’t force them. It’s not fair on them, it will stress you out, and you won’t get a memory worth keeping. Take a breath, try the distraction, and then regroup and see if they’re ready again a little later.”

What are your tips for editing? Are there any apps you’d recommend? 

“There are SO many apps out there for editing photos, I can’t even name them. It really depends what you like your photos to look like, but I prefer to keep shots as close to natural as possible. You can download the Lightroom app and use it for free on your phone, and you can purchase presets that help you edit your photos at the click of a button (or you can discover how to make edits yourself).

Instagram is also a great editing tool- I often use Instagram to edit my own personal photos. The biggest trick with editing is colour. Especially skin colour. Focus on ensuring that people’s skin colour looks as natural as possible- make the photo too cool, and they’ll look a little purple, make the photo too warm, and you’ll have orange Oompa Loompas!”

Lifestyle

My tips for taking good holiday pics

5th November, 2019

Mazzarò beach.

Mazzarò Beach in Taormina

When I am on a trip I always take a million photos and it’s one of my favourite things to do while I’m on holiday. It’s always a nice souvenir of the trip and now with a family, I love being able to capture all the special moments so we can look back on it in the years to come. So, what are my rules when it comes to taking good holiday snaps? Here’s what I do to ensure every image is Insta-worthy…

Taking Sophia to the church where we were married.

Consider your lighting

Lighting is the one thing that can take an image from good to great. I always try and use natural light when I’m taking pictures. I find this always results in the best quality photos and is the most flattering.

Mazzarò beach.

Nature is always an easy photo subject

When you’re on holiday you’ll often encounter lots of new places so your surroundings often make the best photo subjects. Think landscapes, beautiful vistas, blue skies, crystal clear water… Experiment with taking panoramic shots and close ups to really capture the scenery. Also play with different angles as sometimes you may be able to capture a really interesting shot by simply changing your point of view.

High Tea at Claridge's.

It’s all in the detail

I always love taking pictures of the details in anything I see. I will snap pics of interesting architecture but I’ll also focus on things like the beautiful tiles on the floor or a nice piece of antique furniture to really capture the moment. Sometimes it’s often the details that paint the clearest picture of a location.

Cruising in culottes.

Fashion vignettes

I love throwing fashion photos into the mix as I find when I’m on holidays I will tend to experiment a bit more with what I’m wearing whether it’s vibrant colours or exotic patterns and fabrics. Also sometimes it’s fun to take pics of the little trinkets I might pick up along the way such as a bracelet or ring to give a broader snapshot of my travels.

Bam Bar - best granita's in town!

Food, glorious food!

Let’s face it, being able to enjoy delicious food is often one of the best things about being on holiday. There’s a reason why food pictures are often one of the most popular images people post on Instagram. Take a picture of your surroundings, what’s on your plate, the people you’re with, often the experience of dining out makes one of the most interesting subjects you can photograph while on a trip.

Feeding the fish in Taormina's public gardens.

Be candid

The best photos often arise when people are just being themselves. I love taking candid snapshots of my family as it often has the best energy. People laughing, admiring their surroundings or simply looking thoughtful are a nice way to document moments without making it feel forced.

Lifestyle

How to take a good Instagram pic

11th November, 2018

IMG_6140

These days taking a really beautiful photo can be as simple as snapping a pic on an iPhone. I feel Instagram is about beautiful images. The kind that you’d want to put in a photo album or frame. I’m not so big on treating Instagram as a diary but more as a way to collect images that inspire me. I love fashion, I love travel and I love my family, so most of the time my subject matter will be made up of those types of images. You’ll find me capturing images on my phone all the time and this has allowed me to pick up a few tips along the way. I am definitely not an expert photographer but these are some things I’ve learned about snapping an Insta pic that gets likes.

Lighting is everything

Whether it’s a professional photo shoot or a selfie, lighting is key to getting a good shot. If you’re taking a selfie always face a window to get the most flattering light. This is why car selfies always turn out so great.

Take more than one shot

Don’t be shy about taking multiple shots. The odds are you’re going to get a shot that you’ll love. And it’s so easy to do it via your phone now that there’s no excuse not to capture jut the perfect image.

Use the grid function on your phone

Using the grid lines on your phone can help you line up a shot. Often you’ll get a more interesting image by not having everything perfectly in the middle but slightly off centre.

Try different angles 

The flatlay shot has become really popular (a pic taken straight from above) and it just goes to show that different angles can really change the way a shot turns out. Don’t be afraid to take multiple shots from different angles as it’s the best way to ensure that you capture an image from just the right vantage point.

Don’t go too crazy with filters

I love a good filter as much as the next person but sometimes it can take away from the image and make it look too artificial. If you get your lighting and composition right, your photo should be ready to upload to Instagram without any extra help.

What are your best Instagram tips?

Fashion, Lifestyle

How to take a flattering Instagram pic

17th September, 2018


We spend an inordinate amount of time posting and scrolling through Instagram so if there’s a skill worth mastering it’s how to take a flattering Insta photo. Curating and sharing pics on my account is one major aspect of my job so over the years I’ve learnt a thing or two about how to share pics that I know I’ll be happy to look back over. Here they are…

Have good lighting

Every single photographer I’ve ever worked with has always emphasised the importance of good lighting for capturing a great image. Lighting is everything. Soft, natural light is always going to do you favours in the photo department. That’s why car selfies are so popular—the diffused light you get in a car is gold. Aim to take your pics early in the morning or later in the afternoon as midday light can be incredibly harsh and unflattering. Also avoid snapping a pic under fluorescent lighting as I guarantee it will not end well. Just think of the less than kind lighting in most department store change rooms and that’s what you’ll be working with.

Use a filter 

If I want to take an Instagram video but I feel I’m looking tired or my makeup just isn’t behaving then I’ll just use a filter. Cute face filters (animal faces are my fave) or shooting video in black and white is always a great way to cover up anything problematic.

Move around

Whenever I do street style shoots for the blog I’ll always try and move around to give myself the best chance of capturing a flattering image. I do this by walking away or towards the camera as well as  turning my body at different angles. I’ve found this also helps keep the image looking more natural as opposed to if I’m just sitting or standing still. Finding my most flattering poses has only come from trial and error during photo shoots over the years. So if in doubt, try snapping a few different angles of yourself to find your best side.

Use props

If you’re a little unsure of what to do with your hands in a pic then enlist the help of a prop. A clutch, a coffee cup, a pair of sunglasses are all things that look good in a photo and keep your hands occupied to avoid those ‘Where on earth do my hands go?’ dilemmas.

Don’t look directly into the camera

Look slightly above the camera or below but not straight on. This actually results in a more flattering gaze and expression.

Remember your posture

Stand up straight! Having good posture in a photo will naturally elongate your body resulting in a more flattering shot. Sitting or standing with your shoulders hunched will only make you look shorter and won’t do your shape any favours.

Plan your background

Always, always consider where you’re taking your pic. I’m a fan of anything with texture and character. This is why I generally always take my street style pics in places such as a cool side street, in nature amongst leafy trees or colourful flowers or something light and airy like the beach. Also, vibrant colours are alway a plus in any Insta pic as they’re so eye-catching.

Fashion

Behind the scenes on The Australian Women’s Weekly photoshoot

12th September, 2018

It’s always really lovely having the opportunity to do photo shoots with my family, especially when Mum the girls are involved. We recently did a shoot with The Australian Women’s Weekly which took place at our family farm in regional NSW. It was still winter during the shoot but we were lucky enough to have gorgeous weather for it and the country backdrop worked perfectly with the beautiful earthy colours which were the theme throughout the story. It’s also great to be based at home when doing something like this as the girls were able to run around and play, however they were still plenty curious about what was going on, with Sophia even helping out the crew! Check out a few behind the scenes snaps from the day below and if you want to check out the finished product the issue is on newsstands now.

Three generations in one photo

One of the great shots with Sophia and Grace

Mum getting her hair and makeup done

Grace was happy to get involved with everything

On set with The Weekly’s fashion editor, Mattie Cronin

Had to get a snap of this incredible dress

Sophia and I in our winter florals

Rugged up and getting ready to shoot

Sophia became the youngest member of the crew

In between takes

Loving this complementary mother/daughter colour palette

Selfie time in this heavenly yellow velvet number

Fashion

How to take a good flat lay pic

12th March, 2018

Kate Waterhouse how to shoot a great flatlay pic image

The quality of the imagery you use on social media is paramount and is often one of the deciding factors when people decide whether to follow or just scroll on past. A good outfit post is always interesting but I also love nothing more than a great flat lay pic. I’m a big fan of using them on Instagram and I know they’re a mainstay of many bloggers and fashion brands’ accounts. So what’s the key to shooting a great flat lay pic? I’ve enlisted the help of Sophia Athas who has photographed several of my What I Wore posts, shot me at Fashion Week and also worked with me on several of my own flat lay images to share her top tips for taking a photo that will have people double tapping!

The elements of a good flat lay pic
Light

The biggest thing to consider before shooting a flat lay is light! It’s all about getting a really soft natural light (preferably in the middle of the day or morning). Direct sunlight is often too harsh, and artificial lighting can make the whole photograph yellow and seem really unnatural.

Backdrop

It always helps to have a really simple backdrop for the products. I usually use a white art board that I lug around with me, or some simple floor boards or marble bench tops can work nicely too. The simpler the background is the more product you can include without making it too busy and messy.

Composition

Composition is everything, and often less is more! Don’t feel like you always need to fill the entire frame with product, because empty space can work really well, particularly when you want a certain product to pop out! If you have a hero product that needs the most attention, lay this down first and then continue to place bits and pieces around it so as not to distract from the main purpose of the shot!

Kate Waterhouse how to shoot a great flatlay pic with Givenchy bag and cosmetics

How to get the lighting right
Find the nearest window

Use a bench top or floor space right next to a window but try to avoid direct sunlight. Shooting with the light coming in from the back is always the best. It gives a really nice effect on the products.

Play with the aperture setting

If you are using an SLR, play around with the aperture setting—this will determine how much light is let into the shot, and at times when it seems dark in reality, the camera will do its job of lighting the frame up!

How to edit shots
Say no to filters

For me, filters are a definite no. I think keeping it as natural as possible always looks the nicest—creating clean lines with the product without washing it out or changing the frame too much.

Get familiar with Photoshop

I like to play around with the shots in Photoshop once they are uploaded. Rather than adding in filters I often change the backgrounds (sometimes adding in a light pastel colour or even shapes). It can also be fun to add in text where needed, or if there is empty space that needs filling, duplicating products and placing them down again work well too.

The big no-nos
Overcrowding the shot

The best flat lays and product shots are always the cleanest, with everything perfectly placed and consistently spaced apart. If you are uploading the photo to Instagram, ensure you’re thinking about the entire square, so that cropping isn’t an issue once you have uploaded it and to avoid an awkward border on either side of the frame!

Oversaturation

Never over saturate your photos, the less colour in the frame is often better.

The editing tools to use
Afterlight

If I have taken it straight on my iPhone I use Afterlight to edit the photo. I use the sharpening tool which  sharpens all objects and makes the photo appear to be of a higher quality than it actually was taken. Afterlight is also really useful to lighten the image, playing with the brightness as well as contrast. It’s a fine line between using apps to edit and editing too much, as you want to avoid that over saturated and over edited look.

Photoshop

If I have taken the photo with my Canon, I use Photoshop to edit the brightness and even rub out certain products or as I said earlier, place more into the frame.

Finding your own style
Experiment with your shots

Practice, practice, practice! Only after experimenting with certain light, apps, backgrounds and even different objects have I really become confident in flat lays.

Play with adding props or other design touches

It’s really important that you develop your own style rather than trying to copy someone else, particularly as flat lays have become so common. It’s nice to see one that has a unique touch, so don’t be afraid to play around with things—even if its using flowers, the use of text, or even different angles!


Check out Sophia’s website at hatrik.com or follow her on Instagram at @hatrikkk

    Photography: Sophia Athas


    Fashion, Lifestyle

    Behind the scenes: Marie Claire and Georg Jensen’s OCRF campaign

    25th September, 2017


    When Marie Claire asked me to get involved with their campaign with Georg Jensen and the Ovarian Cancer Research Foundation (OCRF) to raise awareness about ovarian cancer I knew immediately that I wanted to take part. It’s a cause that’s close to my heart as I have had family friends affected by ovarian cancer and I know the devastating effect it has on not only the person with the illness but also their families.

    Now that I am a mother of two little girls it’s made me even more aware of this terrible disease and how it affects far too many women in this country and around the world. The shocking statistics surrounding ovarian cancer—such as the fact 1500 Australian women are diagnosed with the disease every year— made me want to do what I could to help build awareness and in turn hopefully raise some much needed funds for OCRF’s crucial research.

    Hair: Kieren Street Makeup: Nadine Monley

    As part of the campaign Marie Claire shot myself with Sophia and Grace. I always love when they can join me on set as it makes the experience even more special. Both girls were really excited and a little curious about what was going on on the day and I’m sure they had as much fun as I did shooting together. It’s always nice to be able to work with people in the industry that I’ve worked with in the past and this time around it was with the photographer Hugh Stewart. Hugh shot my first magazine photoshoot with Sophia back in 2014 and it’s amazing to think how much Sophia has grown since then!

    It was great to be given the opportunity to get behind this cause in such a major way and also to be part of the incredible line-up of women such as Rachael Finch, Alice McCall and Jessica Rowe who were also shot with their daughters for this campaign. I hope that we’ve all been able to raise the profile of ovarian cancer in this country and to help OCRF reach their target to develop an early detection test and ultimately a cure.

    See below for behind the scenes on the shoot…

    Getting ready for the shoot with Grace and Sophia

    Sophia getting to play with some of the makeup on set

    Sophia and I trying to get the perfect mirror selfie

    With my little angel Grace

    Getting into position on set

    Squeezing in a few cuddles with the girls in between takes

    Getting snapped for the magazine and prepping for our video interview

    Lifestyle

    The key to taking good family photos on your phone

    23rd March, 2017


    One of the great things about having a smartphone these days is that you’re able to capture good quality photos on the go. Having a young family means I am always snapping pics on my phone so I’ve learnt through trial and error the best ways to capture moments with Luke and the girls. I have an iPhone 7 and find that when I use it in Portrait mode it produces a really nice DSLR-esque result. It’s also foolproof as there’s a guide which tells me if I need more light in the shot and also gives me a live preview of the depth of the shot so I know the best distance in which to take a picture. Whilst my phone provides great step by step guidance here are some things I always do when it comes to taking each photo…

    • Choose a colourful background. I find the more vibrant the background the better the image as it gives it a great sense of energy.
    • Shoot where there’s lots of light. I’ll try to find a location that’s light filled as it produces a crisper, sharper image.
    • When I’m taking photos of the girls I mix it up and love capturing close up images where they’re looking to camera but I also really like candid shots of them playing and interacting with the world around them. I’ll also experiment with different angles. For example sometimes shooting from above and looking down to take the picture may make a better shot than shooting straight on.
    • I tend to refrain from editing my photos too much but it’s sometimes necessary just to adjust lighting or colouring. There are plenty of apps to choose available but some of the more popular apps include Enlight and VSCO which allows you to enhance and tweak images on your phone. If you do edit your pics just remember that less is more.

    What’s are some of your tips for taking great family photos?


    Fashion, What I Wore

    What I Wore: Gold Rush

    24th January, 2017

    Rich, luxe fabrics are always so glamorous and the above metallic pants by Carla Zampatti are certainly on another level. I think when paired with a more subdued top a somewhat dramatic piece can be tempered and become slightly more wearable for everyday wear. I think the key is just to keep everything in a similar colour family to provide a common thread to tie the whole look together. Even Sophia was able to dress in a similar theme wearing a singlet as a rather adorable makeshift dress!

    Credits: Custom made Twiggy top, (03) 9429 3412; Pants, Carla Zampatti; Jewellery, Christie Nicolaidis; Flats, Pretty Ballerinas; Sophia wears Mes Demoiselles Paris singlet; Ballet flats, Cotton On

    Photography: Julie Adams, Grace magazine.

    Fashion, What I Wore

    What I Wore: Bold prints

    9th January, 2017

    It’s fun being on shoots because it allows me to push the boundaries as far as my style goes. This embellished top and pants set that I wore on the Grace magazine shoot was exotic in nature with the intricate beading and rich burgundy colour and was quite the departure from my usual go-to outfits. However the combination was beautiful and I definitely enjoyed wearing it for the magazine. Separately, I can imagine each working quite well with the rest of my wardrobe and really making a statement.

     Credits: Top and pants, Sass & Bide; Earrings and ring, Sarina Suriano; Flats, Pretty Ballerinas. Hoda wears Dress, Vilshenko from Parlour X; Bangles, Dinosaur Designs; Earrings, Christie Nicolaides

    Photography: Julie Adams

    Steal the embellished look