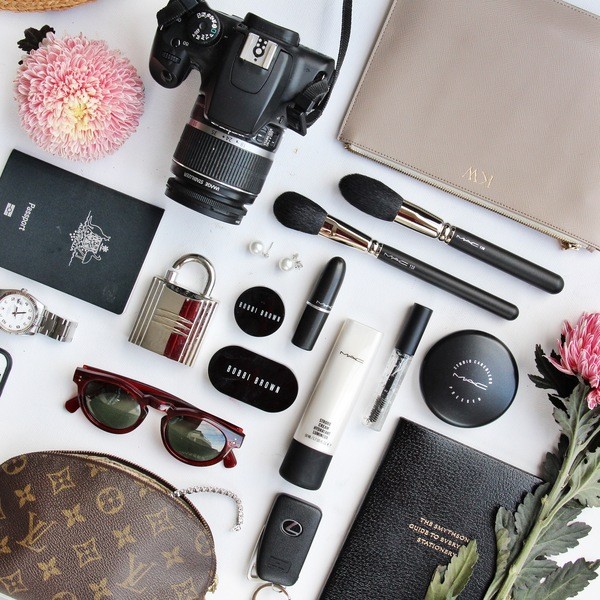
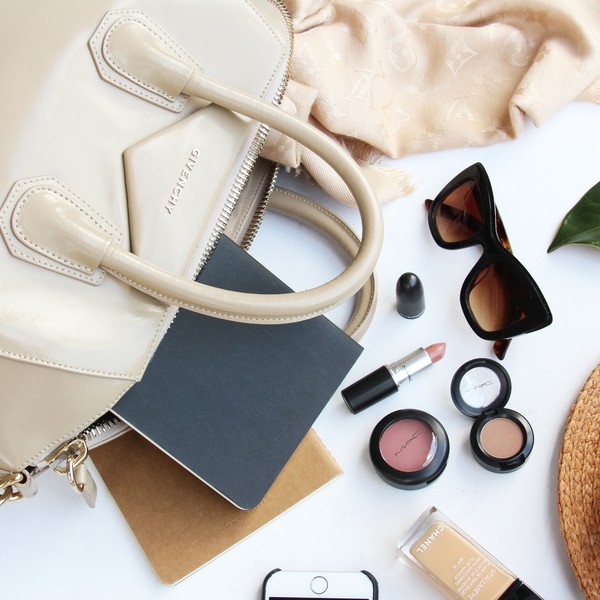
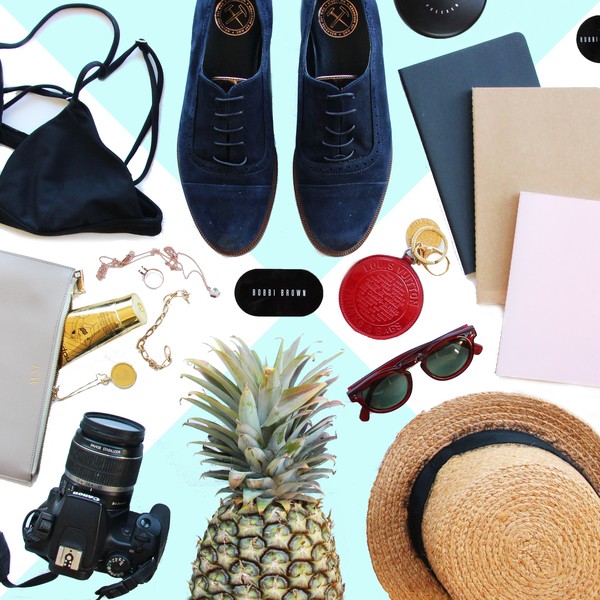
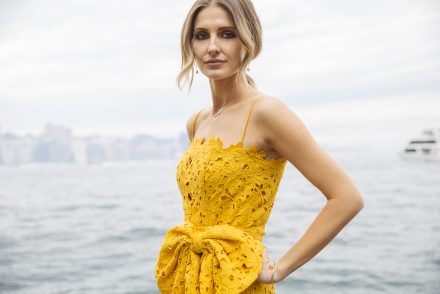
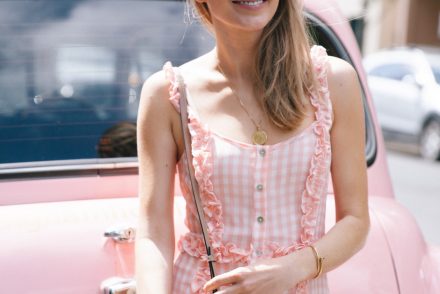
The quality of the imagery you use on social media is paramount and is often one of the deciding factors when people decide whether to follow or just scroll on past. A good outfit post is always interesting but I also love nothing more than a great flat lay pic. I’m a big fan of using them on Instagram and I know they’re a mainstay of many bloggers and fashion brands’ accounts. So what’s the key to shooting a great flat lay pic? I’ve enlisted the help of Sophia Athas who has photographed several of my What I Wore posts, shot me at Fashion Week and also worked with me on several of my own flat lay images to share her top tips for taking a photo that will have people double tapping!
The elements of a good flat lay pic
Light
The biggest thing to consider before shooting a flat lay is light! It’s all about getting a really soft natural light (preferably in the middle of the day or morning). Direct sunlight is often too harsh, and artificial lighting can make the whole photograph yellow and seem really unnatural.
Backdrop
It always helps to have a really simple backdrop for the products. I usually use a white art board that I lug around with me, or some simple floor boards or marble bench tops can work nicely too. The simpler the background is the more product you can include without making it too busy and messy.
Composition
Composition is everything, and often less is more! Don’t feel like you always need to fill the entire frame with product, because empty space can work really well, particularly when you want a certain product to pop out! If you have a hero product that needs the most attention, lay this down first and then continue to place bits and pieces around it so as not to distract from the main purpose of the shot!
How to get the lighting right
Find the nearest window
Use a bench top or floor space right next to a window but try to avoid direct sunlight. Shooting with the light coming in from the back is always the best. It gives a really nice effect on the products.
Play with the aperture setting
If you are using an SLR, play around with the aperture setting—this will determine how much light is let into the shot, and at times when it seems dark in reality, the camera will do its job of lighting the frame up!
How to edit shots
Say no to filters
For me, filters are a definite no. I think keeping it as natural as possible always looks the nicest—creating clean lines with the product without washing it out or changing the frame too much.
Get familiar with Photoshop
I like to play around with the shots in Photoshop once they are uploaded. Rather than adding in filters I often change the backgrounds (sometimes adding in a light pastel colour or even shapes). It can also be fun to add in text where needed, or if there is empty space that needs filling, duplicating products and placing them down again work well too.
The big no-nos
Overcrowding the shot
The best flat lays and product shots are always the cleanest, with everything perfectly placed and consistently spaced apart. If you are uploading the photo to Instagram, ensure you’re thinking about the entire square, so that cropping isn’t an issue once you have uploaded it and to avoid an awkward border on either side of the frame!
Oversaturation
Never over saturate your photos, the less colour in the frame is often better.
The editing tools to use
Afterlight
If I have taken it straight on my iPhone I use Afterlight to edit the photo. I use the sharpening tool which sharpens all objects and makes the photo appear to be of a higher quality than it actually was taken. Afterlight is also really useful to lighten the image, playing with the brightness as well as contrast. It’s a fine line between using apps to edit and editing too much, as you want to avoid that over saturated and over edited look.
Photoshop
If I have taken the photo with my Canon, I use Photoshop to edit the brightness and even rub out certain products or as I said earlier, place more into the frame.
Finding your own style
Experiment with your shots
Practice, practice, practice! Only after experimenting with certain light, apps, backgrounds and even different objects have I really become confident in flat lays.
Play with adding props or other design touches
It’s really important that you develop your own style rather than trying to copy someone else, particularly as flat lays have become so common. It’s nice to see one that has a unique touch, so don’t be afraid to play around with things—even if its using flowers, the use of text, or even different angles!
Check out Sophia’s website at hatrik.com or follow her on Instagram at @hatrikkk
Photography: Sophia Athas
3 Comments
Great tips Thank you!
Great tips. Thank you for sharing.
March and May
Helpful, thanks for sharing Kate.
http://www.chettioan.com